In this post, I’d like to give you a quick step-by-step walkthrough of how to model and create useful data in Arches 4.
Branches, Resource Models and Resources
Before we dive in, let me define a few terms:
“Branches” are partial data model graphs used for modeling data in Arches; they are not entities which collect data themselves, but rather define groups of modeled data that can be used to compose models that collect data.
“Resource Models” are those models which actually represent business data collected by Arches which are created by adding one or more “Branches”.
“Resource” is the name we give to an instance of “Resource Model” in the database (for example, if you had a “Resource Model” called “Actor”, you might add to your database a “Resource” using that model meant to represent a particular historical figure)
My goal is to show the process of designing your Branches and Resource Models all the way through collecting and reporting on Resource data. To do this, I’m going to create a very simple Resource Model that I’ll call “Actor” which will simply collect name and job information.
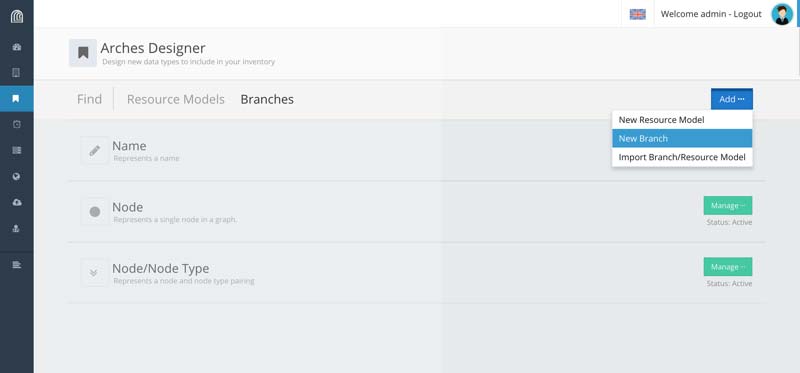
How to Create Branches in Arches
To start, we’ll need to design some branches, which represent the semantic groups of data we want to collect. I’m going to create two:
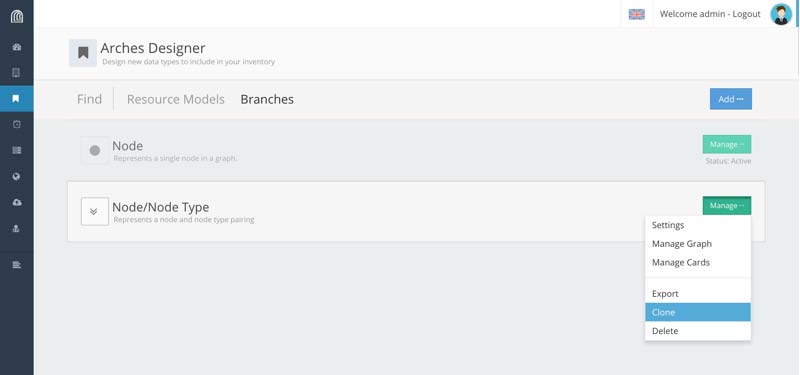
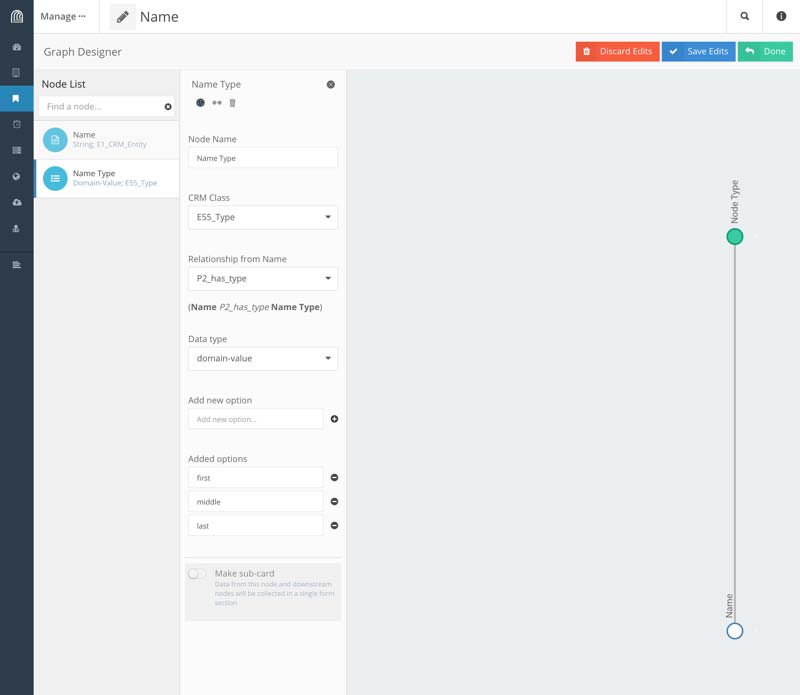
Create a simple “Name” branch – this will consist of a branch with two nodes, one for “Name” and one for “Name Type”. We can create this branch by simply cloning the “Node/Node Type” branch and adjusting it a bit.
Name node
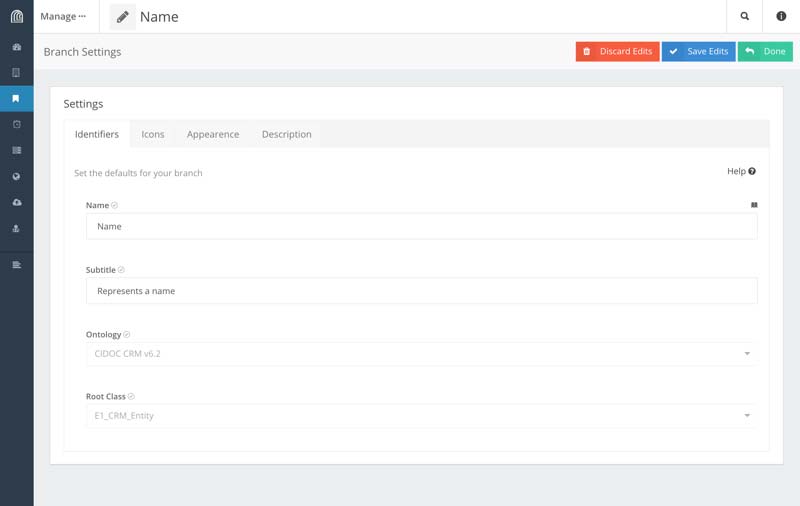
Name Type node
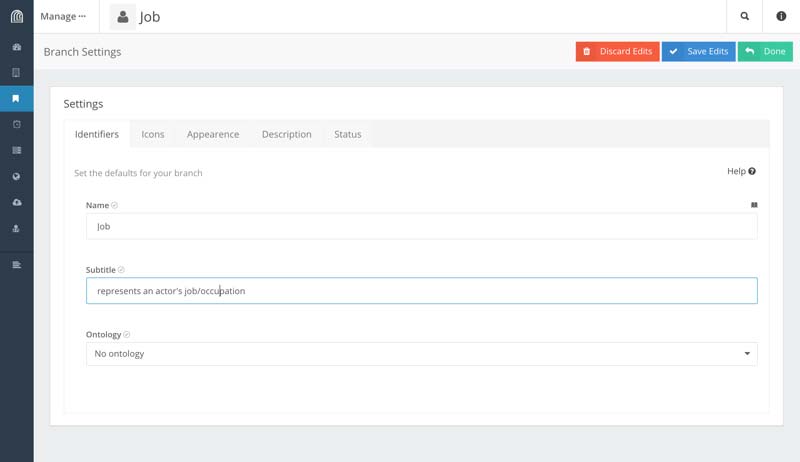
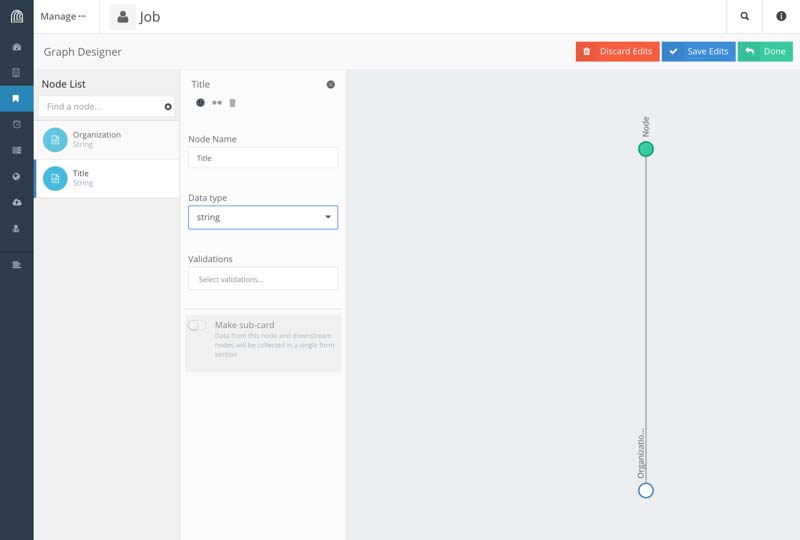
Create a simple “Job” branch – we will keep this branch very simple: two nodes (‘Title’ and ‘Organization’), both strings to keep things simple:
How to a Create Resource Model in Arches
Now, we can create the Resource Model, which are the data models for the entities which Arches collects and tracks:
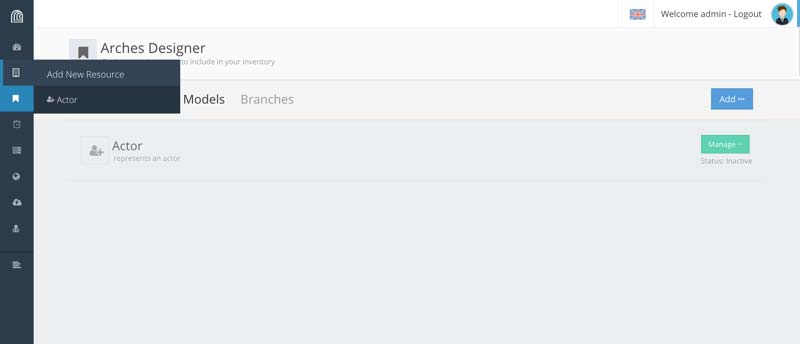
Create a new Resource Model
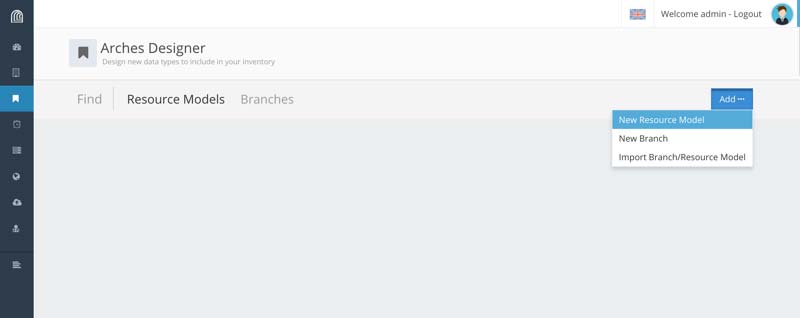
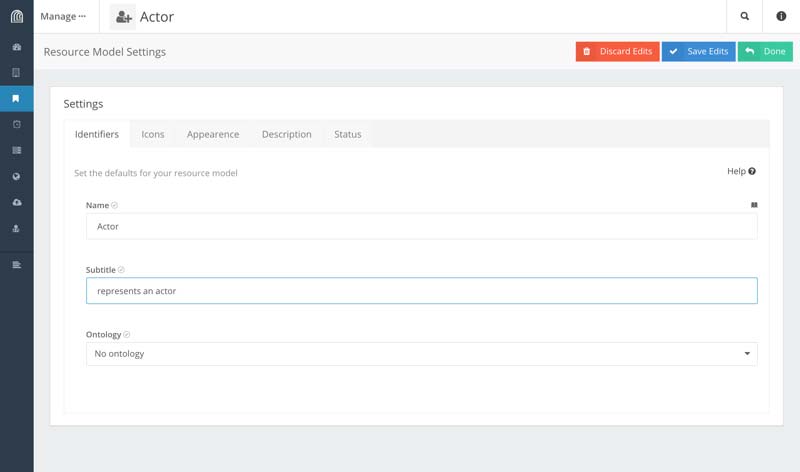
Name it the ‘Actor’ Resource Model
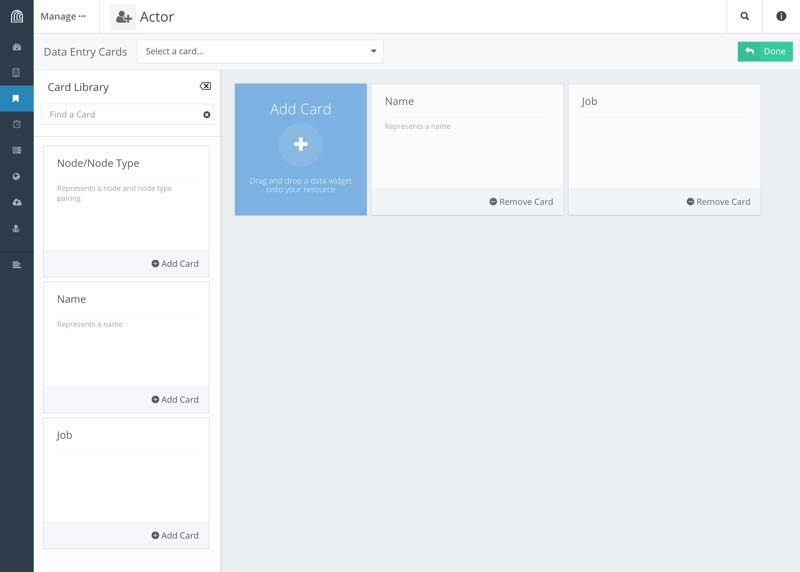
Add the “Name” and “Job” cards.
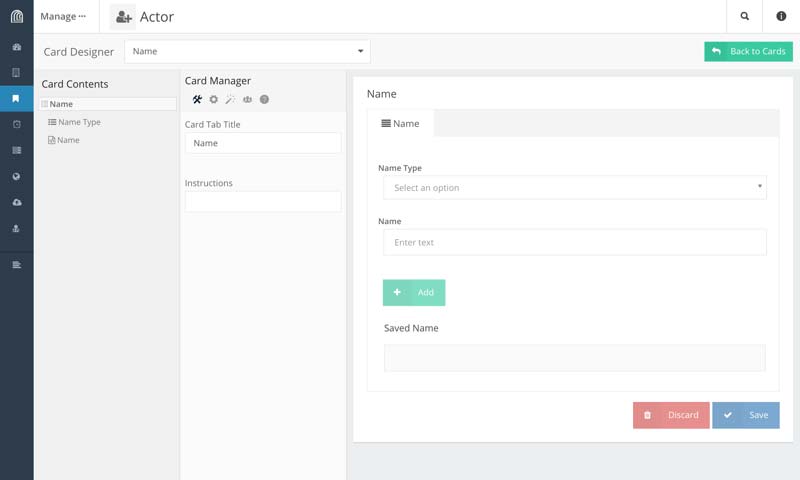
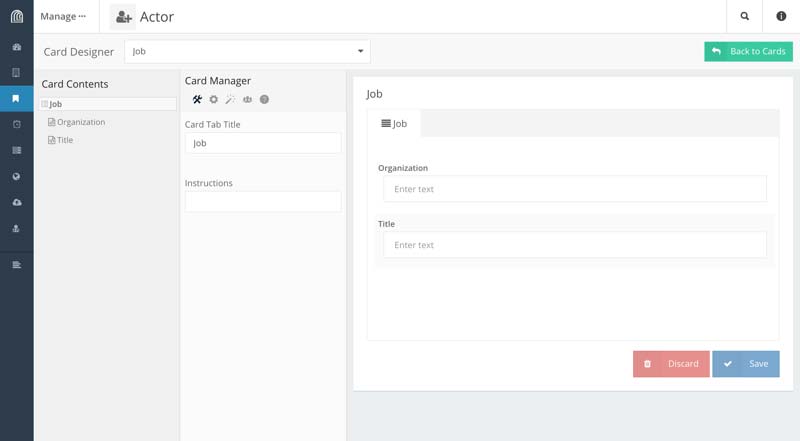
Name card details
Job card details
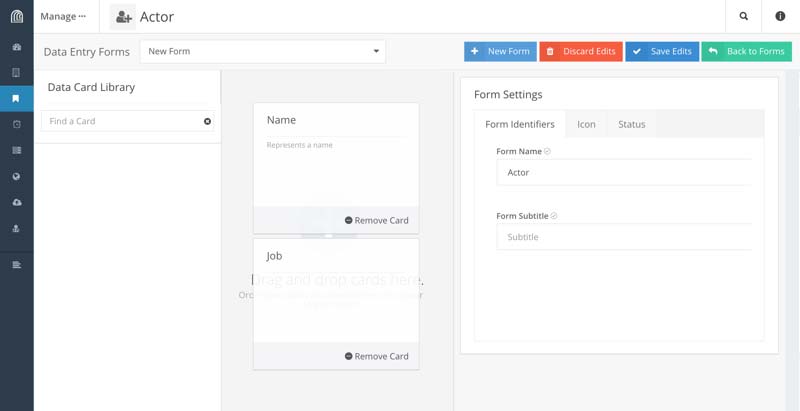
Add a main form, and add cards to it.
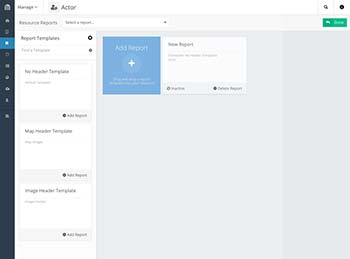
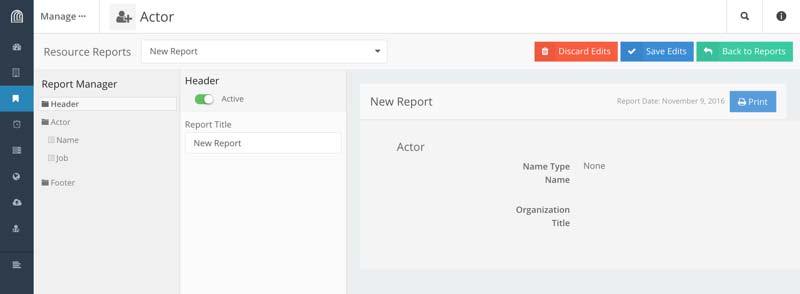
Add a report for the “Actor” Resource Model.

Activate the Report.
Add a new “Actor” Resource
Now that we’ve modeled an “Actor” as a Resource Model, we can begin to collect actual “Actor” Resources.
Click the button to add a new “Actor”
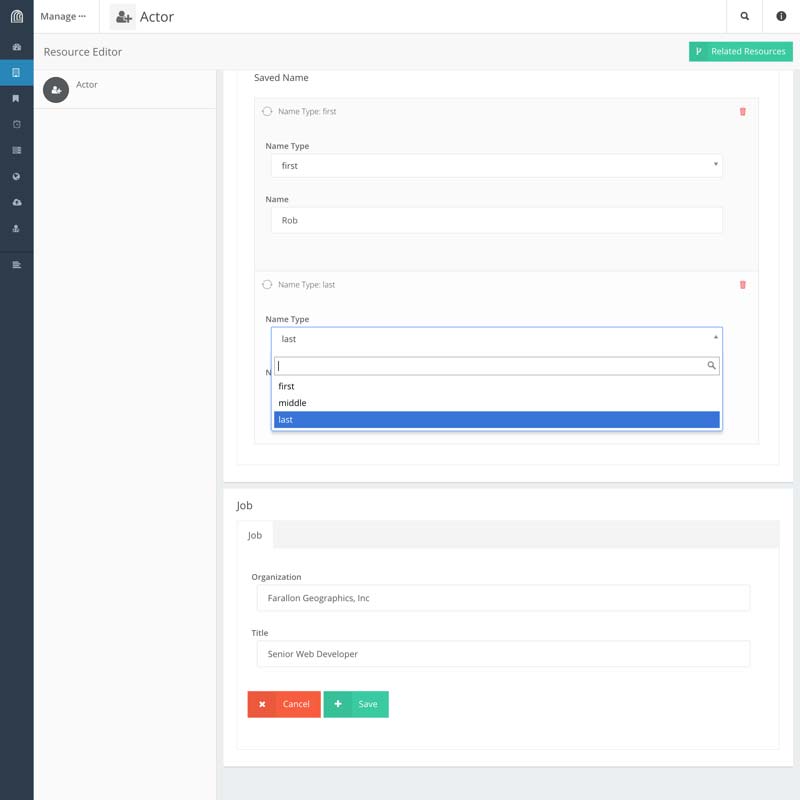
Enter data into Actor form and click save.
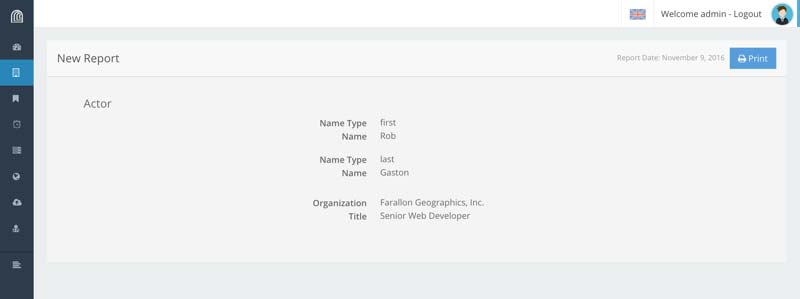
With the Actor resource now in the Arches database, we can also bring up it’s report.
That’s it! We just modeled our data from scratch in Arches 4, and started collecting and reporting on Resource information.
Note: the screenshots shown in here are early captures and things may change in the final product